Quick Start Guide
If you only read one document, read this one. This guide takes you from an empty rack to a functioning service with income, using the free browser version of Silicon Pirates.
All devices are purchased from the in-game shop before they can be installed. You start with a balance of $1000 in Lab Credits. Spend carefully.
Reminder: your rack saves automatically to an anonymous session, no signup required. Refreshing the page or closing the tab picks up right where you left off, on the same browser.
On a phone? sp.silicon-pirates.com/m/ is a real, playable mobile build, not a monitor, same account and save as the browser version above. Log in with the same session and your rack shows up exactly as you left it.
What You Are Building
By the end of this guide, you will have a powered rack, internet access, a NAS with active storage, and a hosted game server generating income. Estimated time: 10 to 15 minutes.
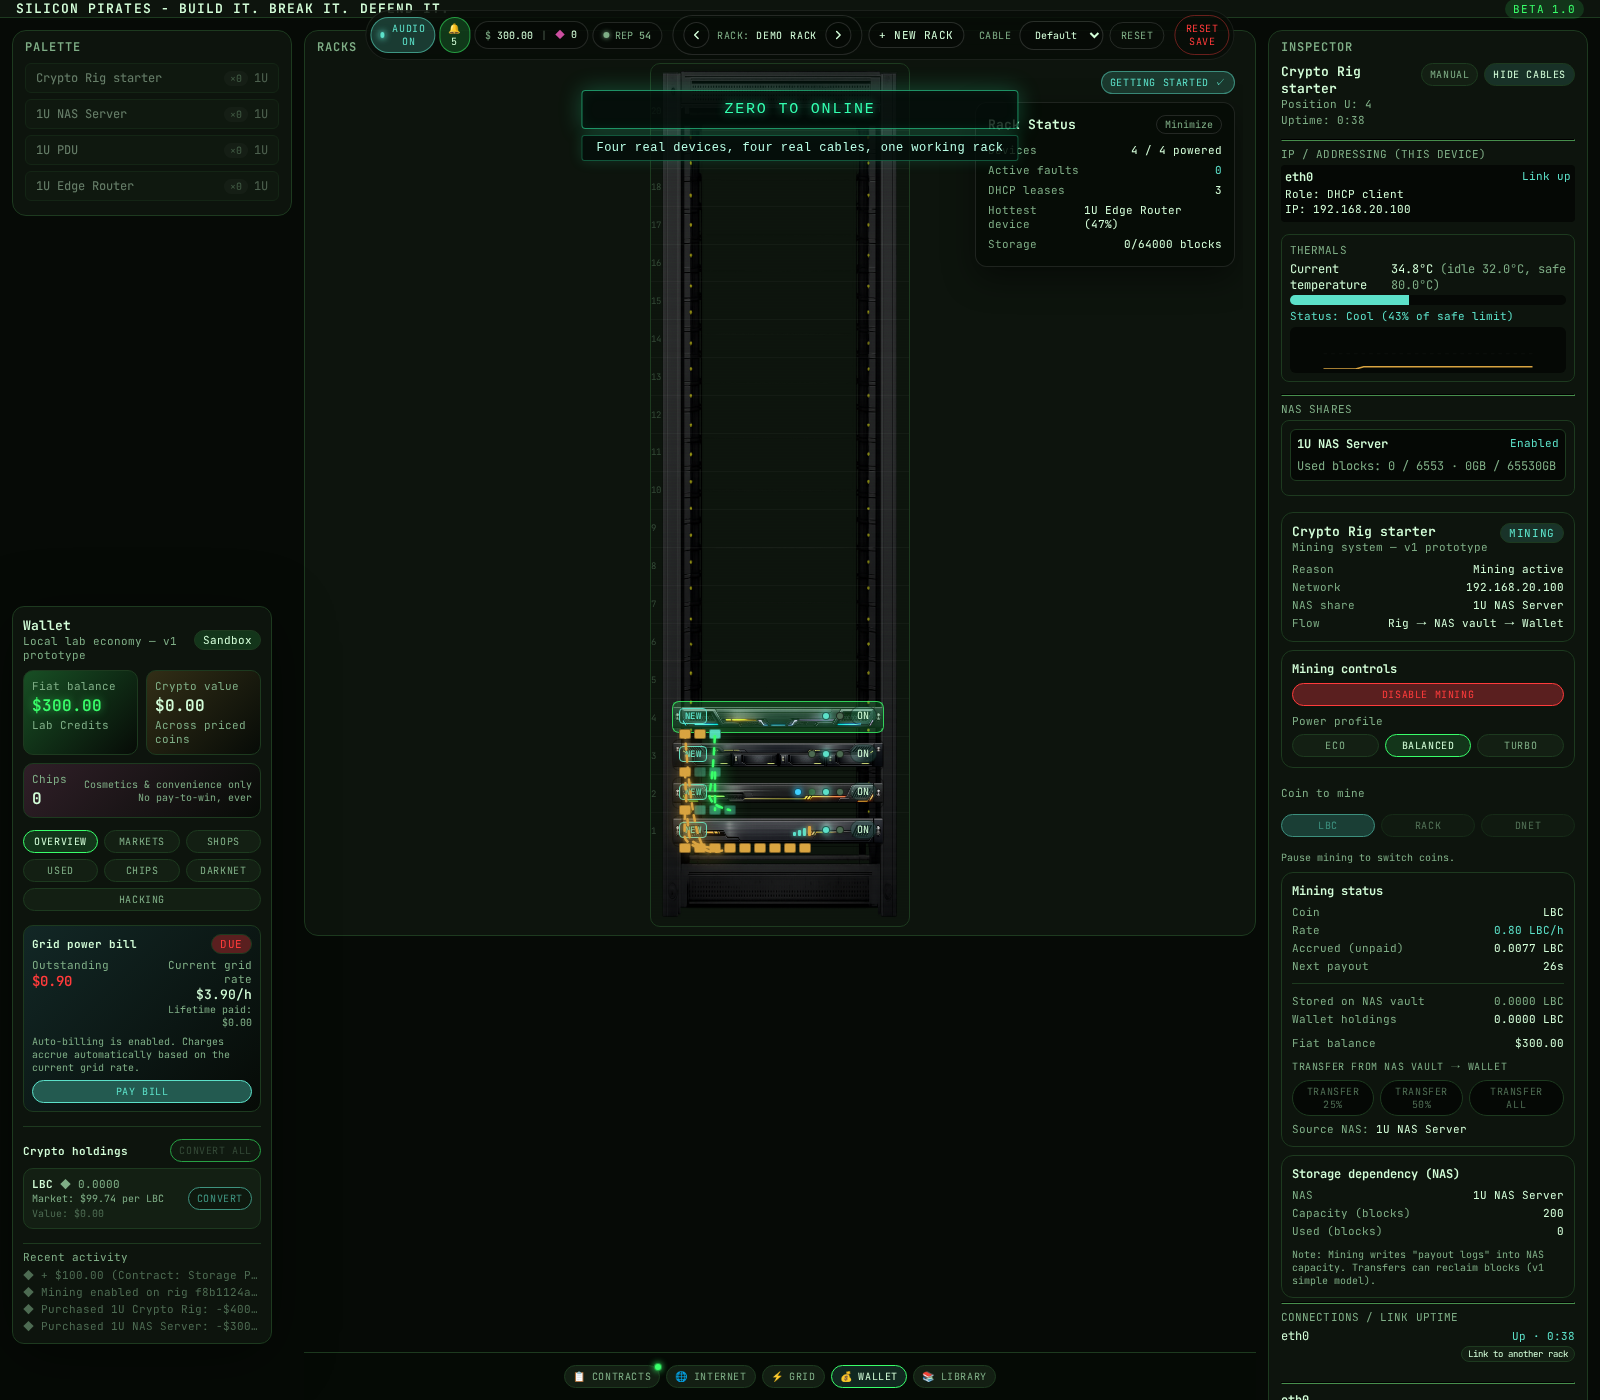
Step 1, Populate the Rack
1. Open the Shop and buy: a PDU, a Router, a NAS Server, and a Game Server.
2. Open the Device Palette and drag each purchased device into the rack.
Placement order doesn't matter visually. The cable connections you make next do.
Step 2, Power Everything
2.1 Connect Power
- Wire the PDU's "in" port to a Residential Grid slot
- Wire the PDU to each device's power port
2.2 Turn Devices On
- Select each device
- Toggle Power On
If a device won't power on, check grid load, the PDU's capacity, and whether the PDU itself is actually wired to a grid slot. Power problems are almost always upstream.
Step 3, Connect the Network
Wire the Router to the NAS, and the Router to the Game Server, using network cables.
Step 3.2, Internet Access
Wire the Router's WAN port to the ISP uplink. Without it, your services run but nobody outside the rack can reach them, exactly like a real router with no WAN connection.
Step 3.3, Configure DHCP
Every device needs a real IP address before it can do anything network-related.
- Select the Router
- Open the DHCP section
- Enable the DHCP server on the LAN side
Once DHCP is active, connected devices automatically receive IPs. No IP means the device exists in the rack but can't communicate with anything.
Step 4, Configure NAS Storage
Select the NAS, open the NAS Inspector, enable a client share, and set its size.
Step 4.2, Assign the Share to the Game Server
Select the Game Server and point it at the NAS share you just created. Shares aren't global, a device needs one explicitly assigned before it can use it. A powered, networked Game Server with no assigned storage still won't host anything.
Step 5, Launch a Hosted Game
Open the Game Server panel, install a game into a slot, set a price, and confirm the service is running. Players join automatically once it's live.
Step 6, Monitor the System
Watch player count, storage usage, power load, and your wallet balance. If income stops, something upstream broke: players left, storage filled, the network dropped, or power failed. Follow the cable path back from whatever stopped working.
Your utility bill is real, too: it swings with your own load and with time-of-day peak/off-peak grid pricing, and it appears in the Wallet like any other line item. Let it go unpaid too long and the grid slot itself gets disconnected, taking everything wired to it down until you pay a reconnection fee, so don't treat the bill as background noise.
Two panels do most of the day-to-day watching for you: a Device Inspector (click any device to see its full live state -- power, thermals, wear, network, everything specific to that one unit) and the Active Services Monitor (docked right under Rack Status), which lists every workload actually running rack-wide -- mining rigs, hosted game slots, AI compute rentals, NAS backup-mirror sync, cron jobs, an in-progress security audit -- with live power draw, temperature, operating cost, and revenue for each, without opening every Inspector one at a time.
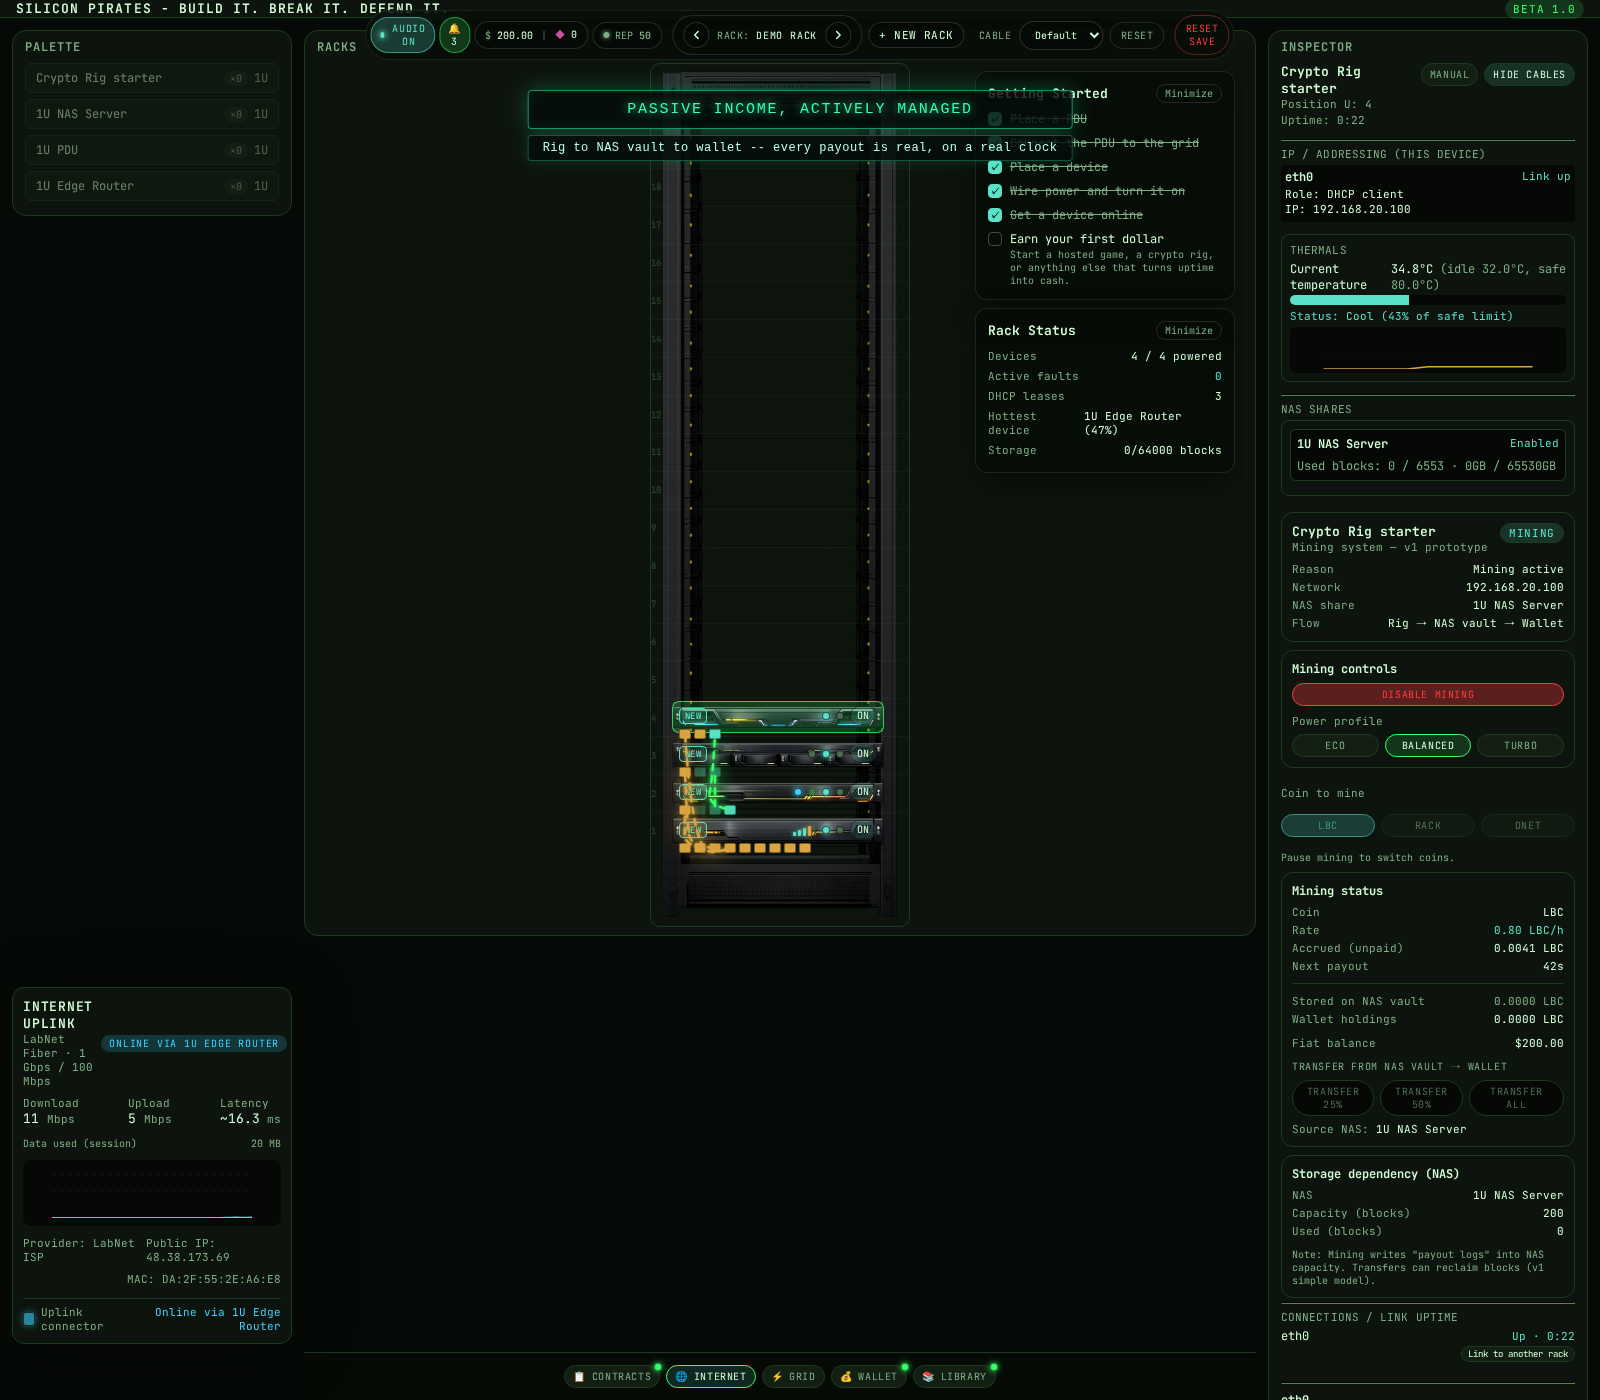
Step 7, Try Mining (A Second Income Stream)
Buy a Crypto Rig, wire it exactly like any other device (power + network), then give it somewhere to put what it mines: enable a NAS share for it and set a real "Share size (blocks)" above 0 (a share left at 0 capacity mines nothing forever, silently). Toggle mining on in the rig's own Inspector and pick a profile (Eco/Balanced/Turbo trade rate for power draw). Mined coin lands in the NAS vault first -- Transfer it into your Wallet, then Sell/ Convert it at the live market price into spendable Lab Credits. Skipping those last two steps is the most common reason a rig looks like it's mining but the balance never moves.
Step 8, Take Your First Client Contract
Open the Contracts tab in the bottom dock. The board offers 3 real objectives at a time, drawn from a pool of 60+ (each with its own client, backstory, and reward) -- some pay out instantly once satisfied, others need the condition held continuously for a few minutes. Completing your first one also unlocks a certain terminal easter egg. Higher-difficulty contracts need a real Reputation level before they'll show up on the board at all, so the pool genuinely grows as you do.
Emergency Controls
The rack-wide grid kill switch instantly cuts power and halts everything drawing from it. Use it to stop a runaway situation (an overloading PDU, a fire risk) before it gets worse.
Common Mistakes
- A NAS share left at 0 blocks: enabling a share doesn't allocate any capacity by default -- a rig or game server pointed at a 0-block share produces nothing, with no error, until you actually raise the size.
- Wired to the grid but not switched on: a PDU/UPS needs its own power button on AND a grid slot wired in -- either alone leaves everything downstream dark.
- Skipping the crypto vault-to-wallet steps: mined coin never becomes spendable cash by itself; Transfer then Sell/Convert are separate, required button presses.
- No DHCP range configured: enabling DHCP on a router port doesn't hand out addresses until you also set a real Range Start/End -- an empty range leases nothing.
- Treating the utility bill as background noise: auto-billing is real; ignore an outstanding balance long enough and the grid slot disconnects everything wired to it.
Where to Go From Here
Once the basics are running, there's a lot more to the simulation than this guide covers on its own:
- Terminal mastery: rack a Terminal Server or KVM Console and try
man,help, and basic diagnostics; scripting and cron come once you're comfortable with one-off commands - Defense: a Firewall dampens Heat accrual; Heat and Reputation both respond to how you run the rack, not just whether it's online
- Disaster recovery: mirror a NAS share to a second NAS device so a hardware fault or intrusion doesn't wipe real data
- Scaling out: buy a second rack and cross-rack cable the two together once one rack isn't enough
- A Recurring Hacker Collective: once your rack matures, one of three real antagonist collectives (each with its own distinct personality) starts paying attention, with real stakes if you ignore it -- underpay a ransom and the shortfall becomes real debt you work off through seedy jobs, not a free pass
- Going on the offensive: hacking tools let you scan, exploit, and steal from other targets, at a Heat cost
- Achievements: tracked live in the terminal, each one pays a real one-time cash + Reputation bonus the moment you earn it, not just a badge
- Starting over: a one-click Reset Save is available any time if you'd rather restart clean; any Chips you've bought are always kept
Every device and system above has its own dedicated page in the
Service Manuals, and the same documentation is
available live in-game via man <topic> in any terminal
-- including man services for the Active Services Monitor and
man leds for what every status dot on a device row means.
Advanced Guide
Once the basics are second nature, these are the decisions that separate a rack that survives from one that just runs:
- Rack optimization: group devices by role on the same PDU/UPS chain so a single overload or fire event can't take out unrelated workloads at once; leave real headroom on any chain feeding something expensive.
- Thermal management: a device accrues wear the moment it runs above its safe-temperature ceiling, well before anything actually breaks -- watch the Active Services Monitor's thermal meter and back off load (or add airflow-friendly spacing) before wear becomes permanent degradation.
- Efficient power usage: the grid rate swings by real time-of-day (peak 1.4x, off-peak 0.7x) -- schedule power-hungry mining/AI runs for off-peak hours where the workload tolerates it, and compare each service's real operating cost against its revenue in the Active Services Monitor rather than assuming more power always means more profit.
- Maximizing profitability: not every income stream is worth its own device -- a Crypto Rig's cost-to-revenue ratio at Turbo can be worse than Balanced once you account for the grid rate; the Monitor's efficiency figure (revenue minus cost) is the real number to optimize, not the raw rate.
- Device specialization: a Compact PDU isolating your backups from a noisy crypto rig's circuit, or a dedicated Heavy-Duty PDU for anything power-hungry, contains a fault's blast radius instead of one big shared chain risking everything at once.
- Sizing for real load, not idle load: a NAS or Game Server's idle draw looks tiny, but each can climb toward 500W once it's actually busy (heavy disk I/O, real players connected) -- if you're daisy-chaining two or three PDUs just to keep an ordinary router+switch+NAS+Game Server rack online, that's a sign to upgrade one PDU (Industrial, 1000W, or Datacenter, 1500W) instead of chaining more small ones.
- Managing multiple workloads: mining, hosting, and AI rental can all run simultaneously on the same rack -- the Active Services Monitor is what makes juggling several at once realistic instead of tab-switching between Inspectors.
- Heat vs. performance trade-offs: Turbo mining and a full hosted-game slot both push Heat up faster; running lean (Balanced/Eco, a live firewall) trades some raw revenue for a real, measurable drop in random-fault and intrusion odds.
- Advanced networking: DHCP range/subnet/gateway are all real fields, not decoration -- and cross-rack cabling lets a second rack's devices reach a router/NAS in the first, so scale-out doesn't mean starting networking from zero each time. Power works the same way: a PDU/UPS chain can feed devices in a second rack over a cross-rack link, and a device powered that way behaves identically to a locally-powered one in every system, not a partial connection.
- Marketplace strategies: the Wallet Markets tab is a real buy/sell exchange independent of mining -- buying coin on a dip (or the Pump Predictor mini-game) is a second, separate way to grow crypto value beyond what your rig actually mines.
- Contract optimization: higher-difficulty contracts gate on real Reputation, and several carry a bonus objective worth extra cash + Reputation on top of the main reward -- reading the fine print before accepting is worth it once contracts start carrying real time limits.
- Preventing catastrophic failures: an overloaded PDU chain can genuinely catch fire and spread to every device plugged directly into it -- the Residential Grid panel's per-port load bar is the earliest real warning, well before an outlet LED changes.
- Long-term progression strategies: Reputation compounds -- it gates contract difficulty, Darknet access, and the Hacking tab all at once, so a steady, low-Heat operating style pays off in more than just avoiding faults.
- Preparing for future multiplayer: the anonymous session-persistence backend already running under your save is the deliberate first step toward planned PvP raiding + AI opponents -- nothing to do differently today, but a rack built to survive faults and stay low-Heat now is the same rack that'll hold up against another player later.
Chips: Cosmetics and Time-Savers, Never an Edge
The Wallet's Chips tab is a separate, optional shop from your $1000 in Lab Credits. It buys device and rack skins, full-UI accent themes, a custom rack nameplate, a Hacker Ward (temporary intrusion/ransomware immunity), an Insurance Policy (auto-repairs your next fault), and a one-time Cable-Tie Auto-Organize (routes power cables down a left rail and data/network cables down a right rail instead of free-hanging physics -- purely visual, changes nothing about capacity or delivery). Every single one of those is cosmetic or convenience only, nothing there is ever stronger than what a properly-run rack already reaches for free. Chips are bought in real one-off packs, not a subscription.