Game Systems & Mechanics
The device manuals cover individual hardware. This page covers everything that
happens ACROSS the rack -- the live dashboards, the economy, the threats, and the
simulation rules that tie every device together. Same content is searchable
live in-game via any terminal's man <topic> command; the
topic name to use in-game is noted at the start of each section below.
Watching the Rack
Device Inspectors
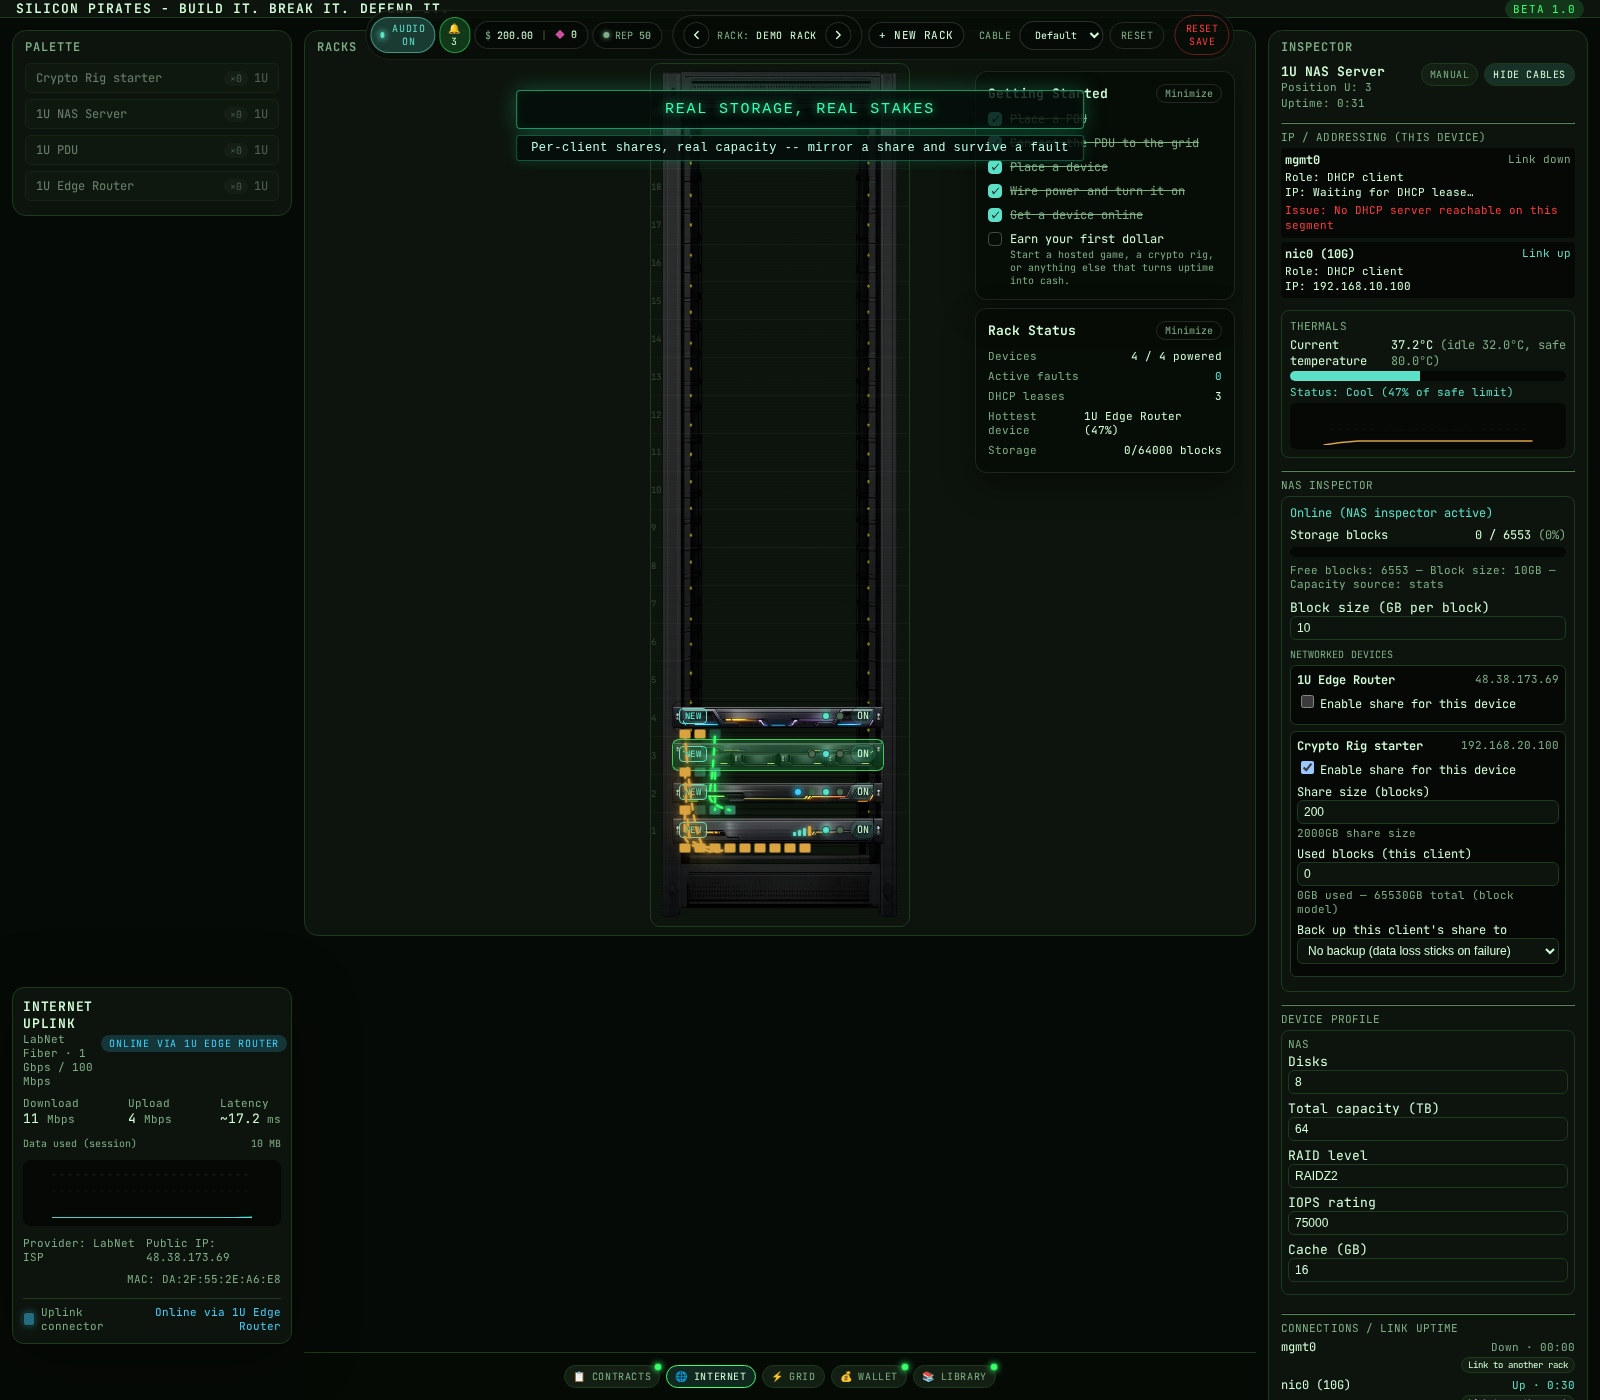
Click any device to open its Inspector -- the single source of truth for that one unit's live state: power, thermals, wear, network, and whatever's device-specific (mining rate, hosted-player count, NAS shares). Every other dashboard on this page (the Active Services Monitor, Rack Status) derives its numbers the same way the Inspector does, live, not a cached or simplified copy.
man services -- Active Services Monitor
A live dashboard docked directly under Rack Status, listing every real workload currently running on the rack without opening each device's Inspector one at a time: crypto mining rigs, hosted game server slots, AI compute rentals, NAS backup-mirror sync health, terminal cron jobs, and an in-progress Security Audit contract's countdown. Rows only appear for things genuinely running right now -- a freshly-placed, unconfigured device shows nothing, by design; this dashboard reflects actual simulation state, never a placeholder value.
Click any row to expand it: a short live history sparkline for its headline metric, plus uptime, power draw, temperature, estimated operating cost (derived from the real current grid rate -- see Utility Billing below), estimated revenue, and a rough efficiency figure (revenue minus cost). A warning line explains itself whenever something isn't fully healthy -- a mining rig missing NAS capacity, a stale backup mirror, and so on. Minimize collapses it to a small pill showing running/warning counts, and that choice is remembered across reloads.
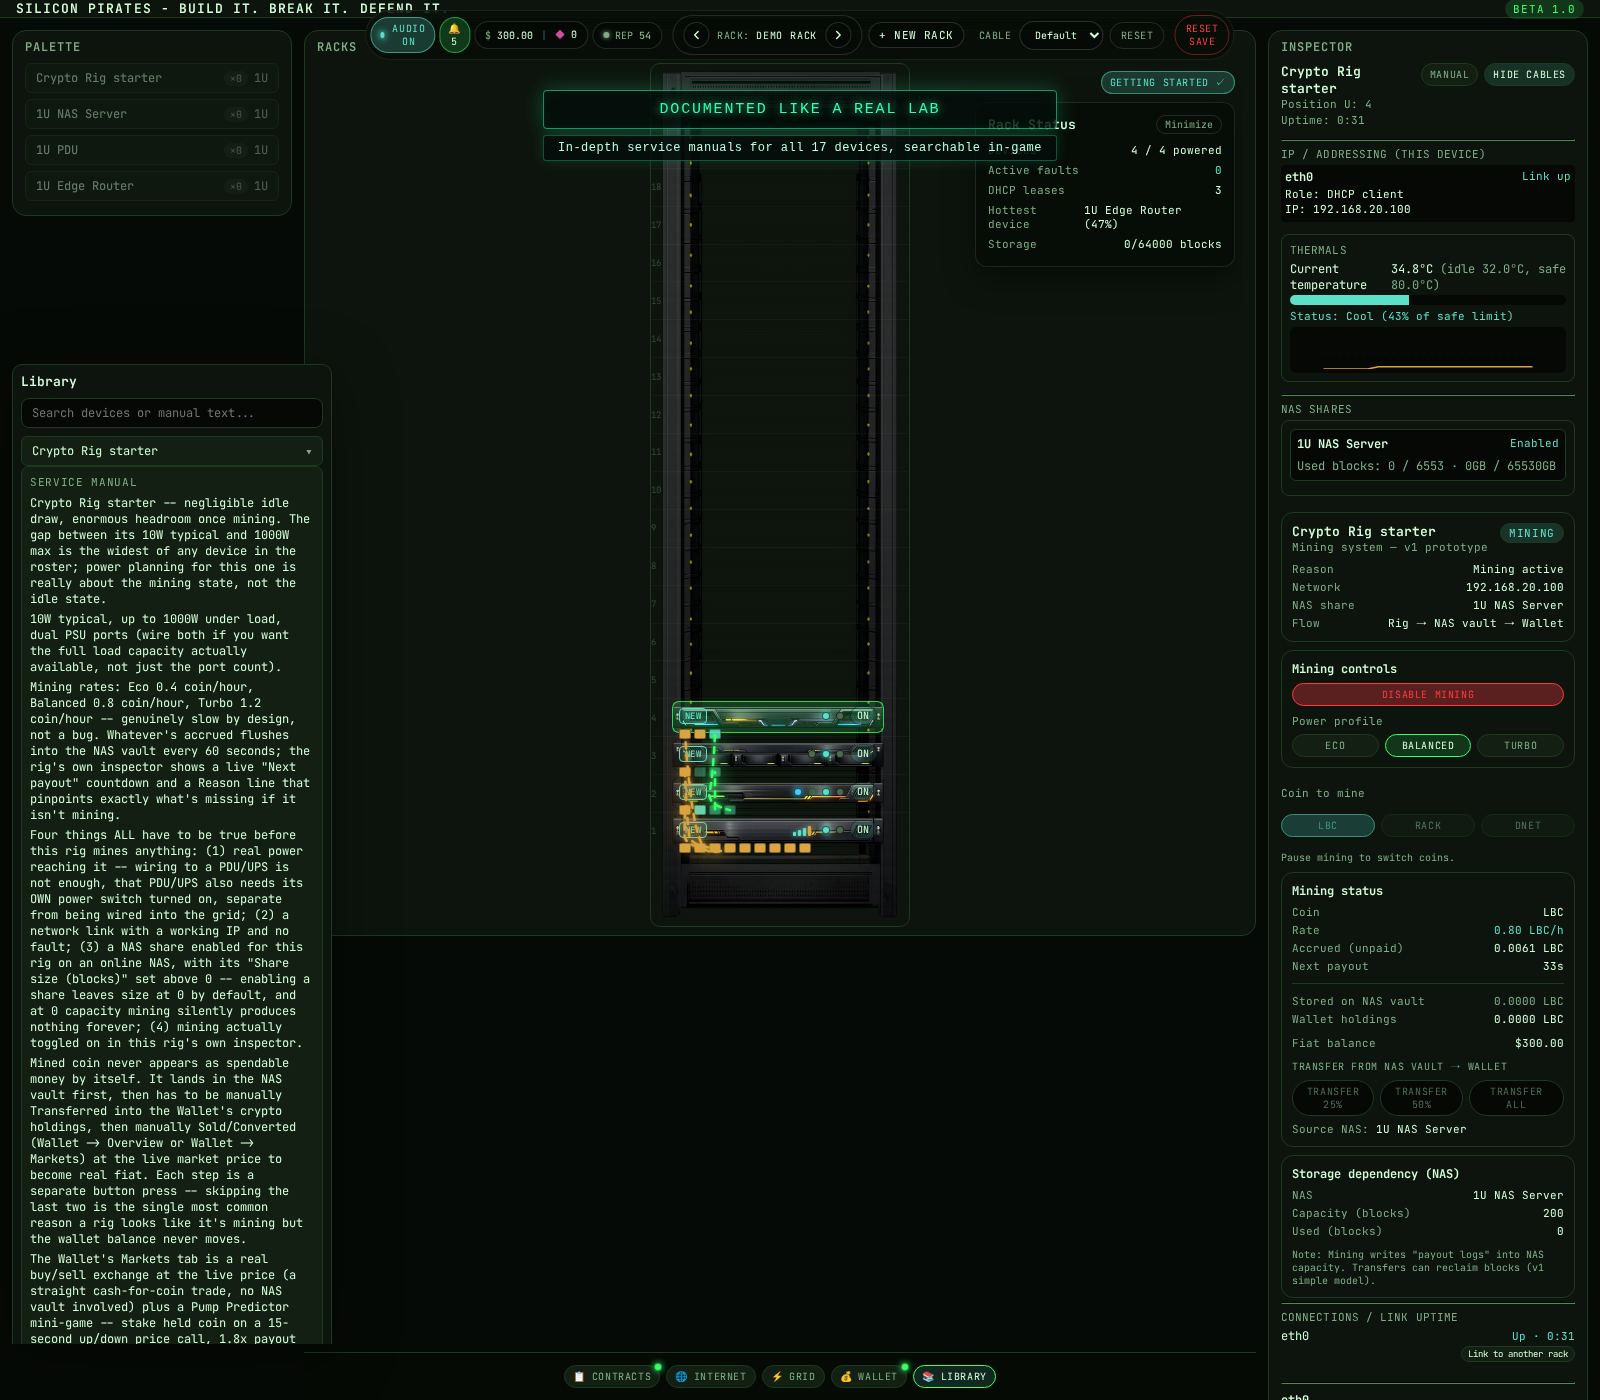
man leds -- LEDs & Activity Indicators
Every device row carries small status dots reflecting real state, not decoration: a Power dot lit only when the device is actually receiving power (a switched-on device with no powered PDU/UPS upstream still reads unpowered), a Fault dot lit red the instant any real fault is active, network-port dots that flicker with a live animation only on a connected, healthy, enabled link, and a NAS disk-activity dot that flashes for a short window right after a real terminal read/write against a share on that device, then decays back to idle. If a dot is lit, something real is actually true about that device right now.
Contracts, Rewards & Progression
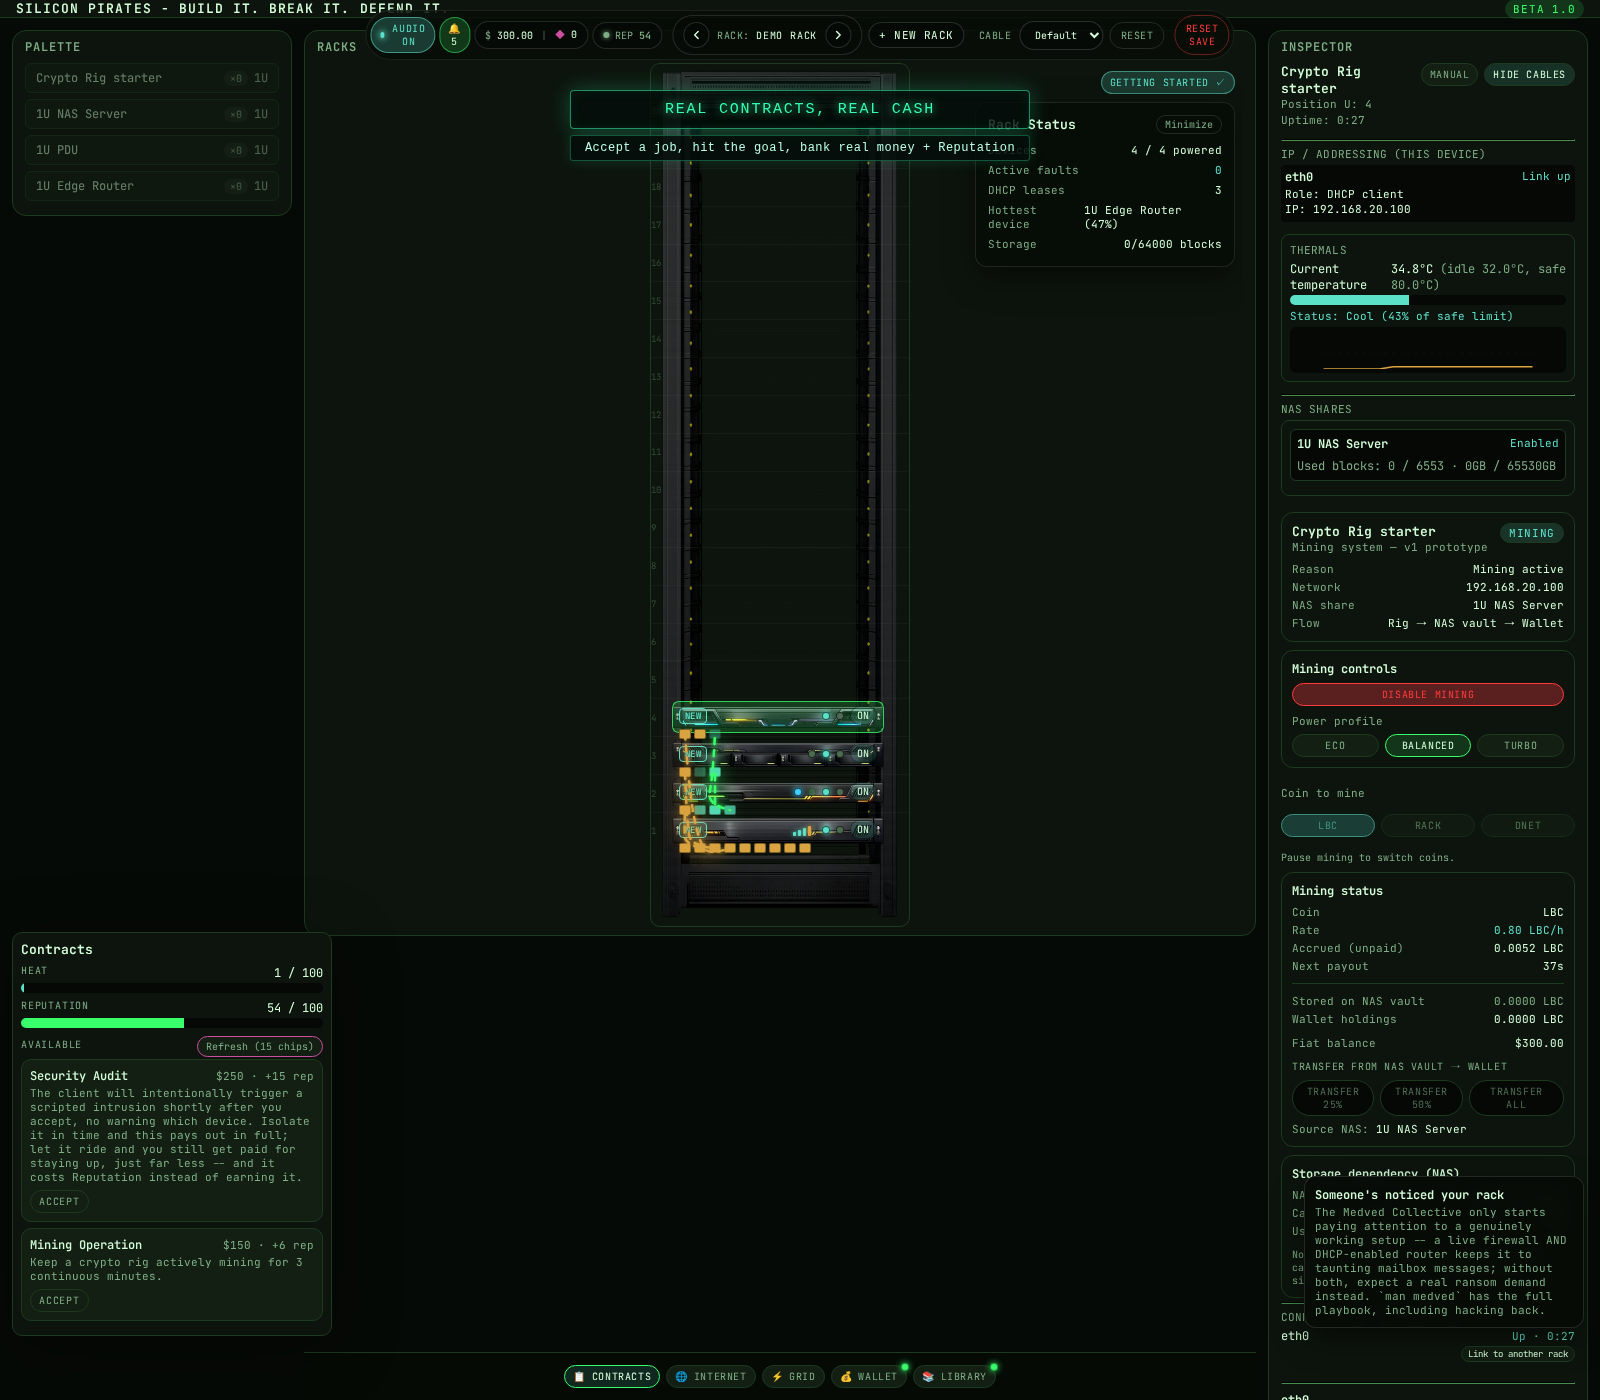
man contracts -- Client Contracts
The Contracts board offers 3 open slots at a time, drawn from a pool of 60+ unique contracts spanning startups, crypto influencers, AI companies, retro LAN party organizers, hosting resellers, meme corporations, data hoarders, government agencies, research labs, streamers, angry gamers, tiny indie developers, corporate IT nightmares, shady clients, hacker groups, eccentric billionaires, small businesses, ridiculous emergencies, hardware collectors, and internet celebrities -- each with its own client, backstory, flavor text, and reward, not a generic "do X for money" objective.
Accept one and its objective is checked continuously against real rack state. Some pay out the instant the condition is true; others need it held continuously for a while, shown as a progress bar -- dropping the condition resets the timer rather than failing the contract outright. Some contracts also carry an optional bonus objective (a stretch goal paying separate cash + reputation the first time it's true) or a real time limit (accept it and it silently expires with no payout if you don't satisfy the main objective before the deadline shown on the card). Completing your very first contract also unlocks a certain terminal easter egg.
Difficulty, Reputation & Progression
Every contract has a difficulty tier (trivial / easy / medium / hard / extreme) shown on its card. Higher tiers carry a minimum Reputation requirement -- they simply won't appear on the board, or from a chip-paid instant refresh, until your Reputation qualifies, so the pool you actually see genuinely grows as your rack's Reputation grows. Reputation itself rises from revenue-producing activity and honest contract completions, and it's what separately gates the Darknet market and offensive Hacking tab -- see Hacker System below. A dedicated Reputation readout sits in the persistent top bar next to your balance, color-coded by tier, so progression is visible at a glance without opening a panel. That same tier badge isn't just a HUD element -- it shows next to your name everywhere another player can see it, including your listings on the Marketplace tab (see Player Trading below), so a rank earned honestly is visible identity, not a private stat.
Reward System
Rewards come from three independent sources, all real and immediate rather
than cosmetic points: Client Contracts (cash + reputation, plus any bonus
objective's separate payout), Achievements (run achievements on
any terminal for a live checklist -- state-derived ones reflect whatever's
true right now, event-based ones mark a specific real moment like surviving a
brownout on a charged UPS or passing a Security Audit clean; every achievement
pays a real one-time cash + reputation bonus the moment it's first earned,
deliberately smaller than contract rewards and never clawed back), and the
Security Audit contract's pass/fail branch (full payout if you isolate the
scripted fault in time, a reduced payout plus a reputation cost if you don't).
Economy & Marketplace
Two Currencies, Two Very Different Things
Lab Credits (shown with a $ sign) are earned entirely by playing -- hosting games, mining, contracts, Marketplace sales. This is NOT real money and never touches a real payment method; it's what you buy devices, pay power bills, and price Marketplace listings with. Spend it freely, it's genuinely just the in-game economy.
Chips (shown with a diamond) are the only currency in the whole game tied to real money, bought via Stripe (Wallet → Chips). They buy cosmetics and pure time-savers only -- device/rack skins, a custom rack nameplate, trinkets, a Hacker Ward, an Insurance Policy -- never anything that outperforms what free play already reaches.
Short version: a $ next to something means Lab Credits, all free, all earned. A diamond means Chips, the one place real money can enter the game, and it only ever buys looks and convenience.
Marketplace
Three separate markets, each with a different risk/reward shape:
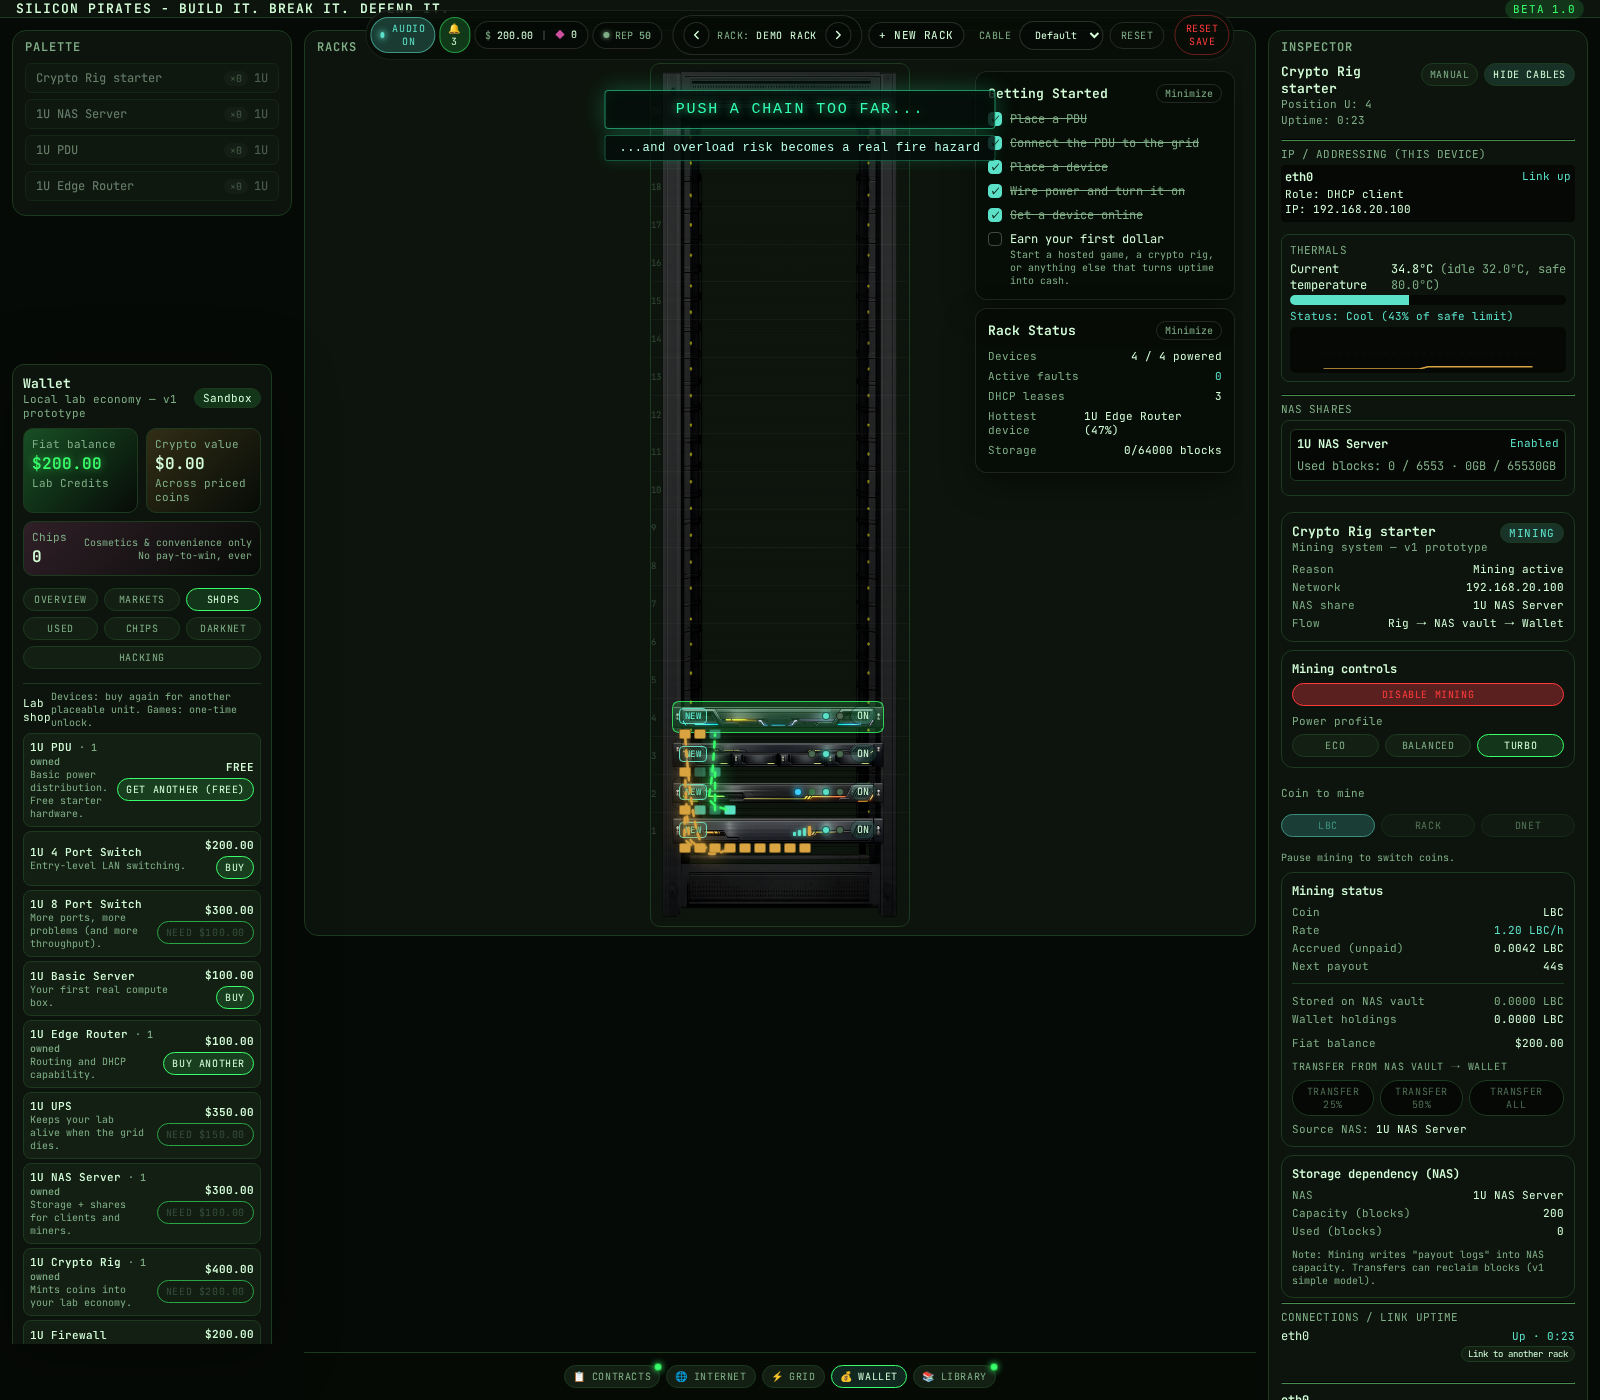
- Shop -- new hardware at fixed prices, plus Chips (the premium currency): device/rack skins, full-UI accent themes, a custom rack nameplate, a Hacker Ward (temporary intrusion/ransomware immunity), an Insurance Policy (auto-repairs your next fault), and Cable-Tie Auto-Organize -- cosmetic and convenience only, never a strictly-better outcome than free play reaches.
- Used Market (Wallet → Used) -- listing prices float between 35% and 85% of new, and every purchase rolls a real condition on the spot (55% arrives like-new, 30% arrives pre-worn, 15% arrives already degraded and needing repair) with no way to preview the roll before buying.
- Darknet Market -- unlocks once Reputation is high enough; grey-market repair parts and exploit kits (a Heat Scrubber, a False-Log Kit) that are cheaper or faster than the honest route but carry a real chance of backfiring worse than paying straight would have.
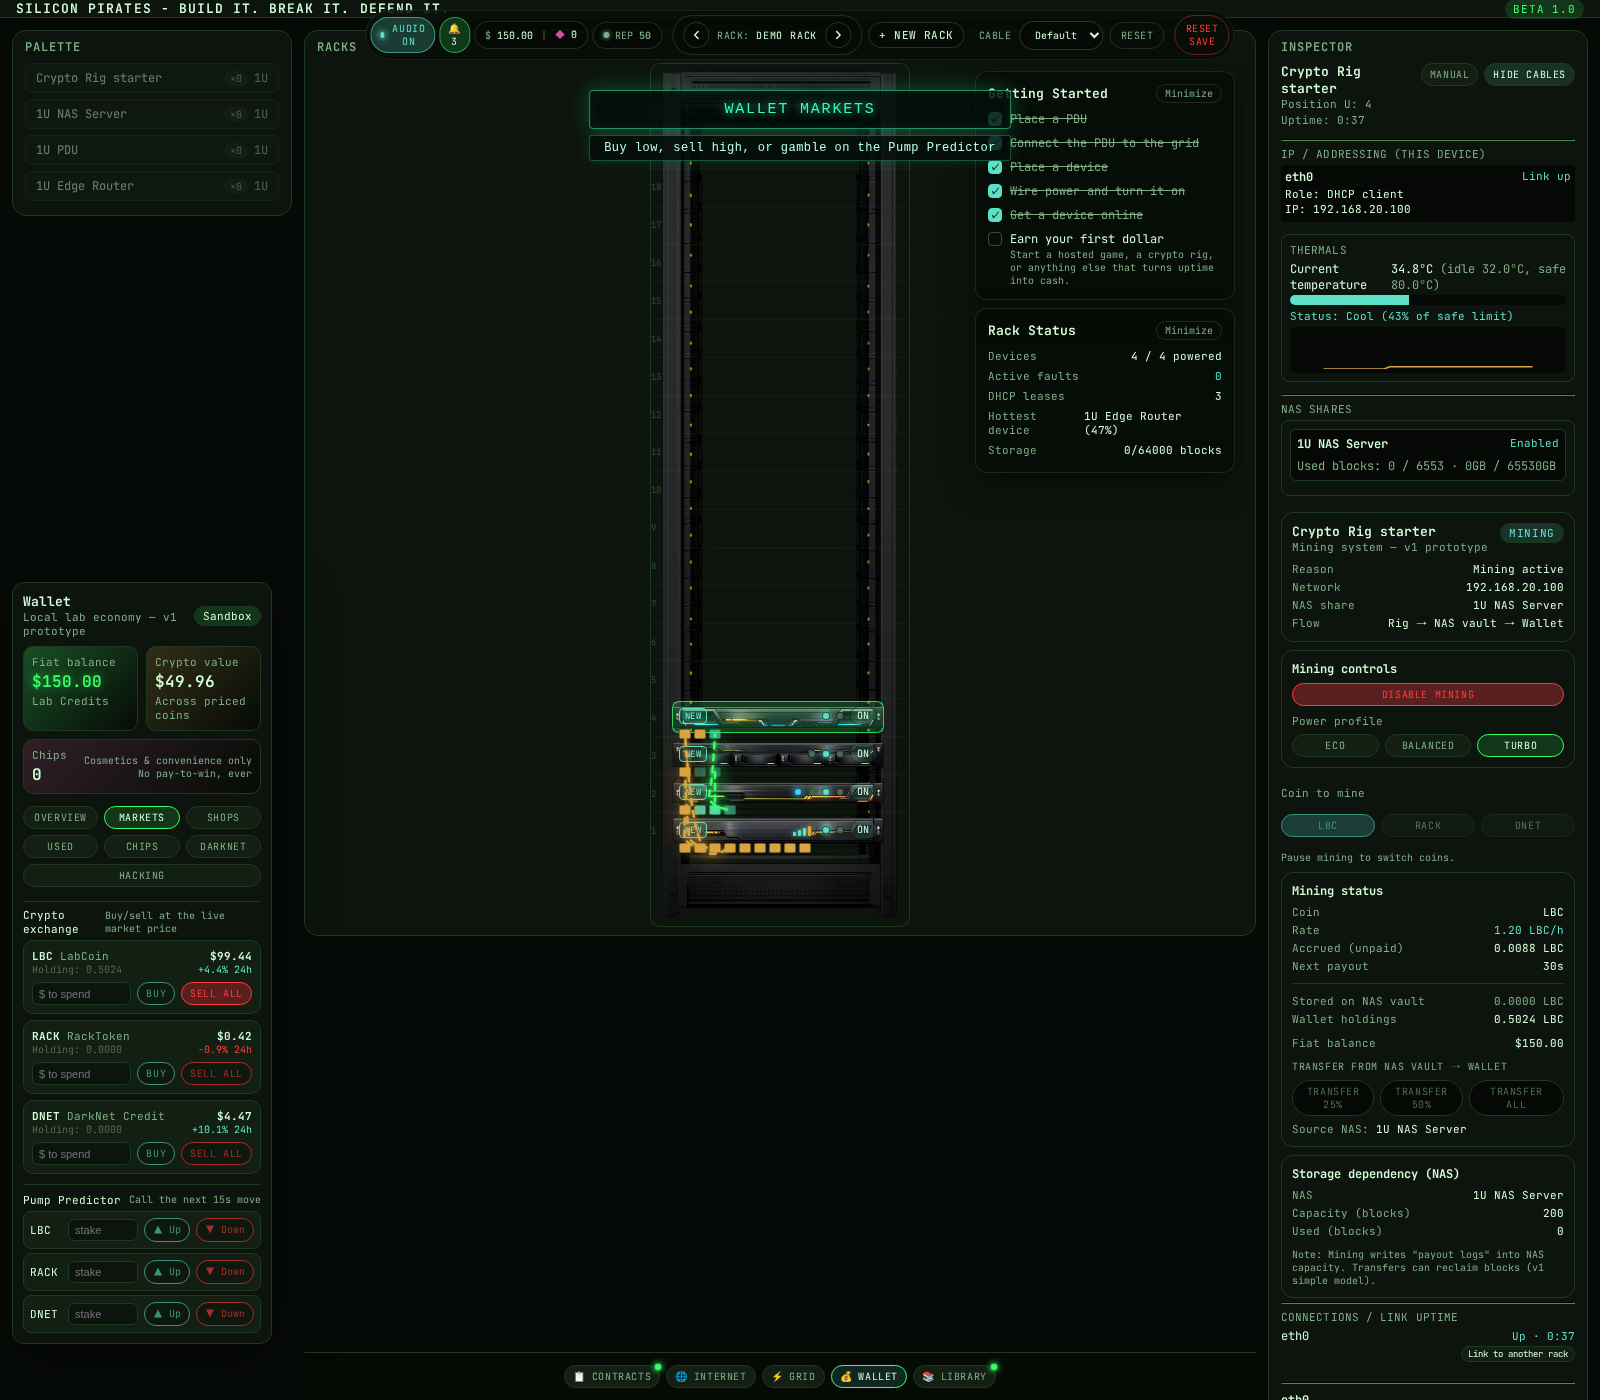
Separately, the Wallet's Markets tab is a live crypto exchange (buy/sell at the real fluctuating market price, independent of mining) plus the Pump Predictor mini-game -- stake held coin on a 15-second up/down price call, 1.8x payout if right, stake lost if wrong.
Cable-Tie Auto-Organize (100 Chips, One-Time)
By default, cable runs hang free between ports with real physics -- exactly how a real rack looks mid-build, but it can get visually busy once a rack fills up. Cable-Tie Auto-Organize is a one-time, 100-Chip purchase that replaces free-hanging cable physics with routed cable management: every power cable is automatically bundled down a left-side vertical rail, and every data/network cable down a right-side rail, the way a tidy real rack gets dressed. It's purely visual -- a routed cable carries exactly the same power or link it did free-hanging, nothing about capacity, power delivery, or network behavior changes -- and it applies automatically to cables you add afterward too, not just the ones present at purchase time.
Device Provenance
Every device carries a real acquisition history rather than being an anonymous blank slate: a green NEW badge shows for a few minutes right after you place a freshly-bought unit, and an amber USED badge shows instead over that same window for a unit bought pre-worn from the Used Market, matching whatever condition it actually rolled (see Used Market above). Selling a device back consumes that specific unit and its condition outright; removing one instead returns it to your Palette, placeable again for free as the same physical unit.
Player Trading (the Marketplace tab)
Separate from the Shop/Used/Darknet markets above, the Wallet → Marketplace tab is real cross-session trading with other actual players — the first system in the game where two different players' economies genuinely interact. Registering a real username unlocks it (browsing and managing your own balance work fine unregistered; buying and selling need a registered account) — and that username is yours for life the moment you register it, permanently tied to your session rather than something you re-claim or risk losing later. Trades run through a separate, server-verified Marketplace Balance — deposit from your regular Lab Credits wallet, withdraw back any time — so a trade can be trusted server-side rather than taken on faith from either player's browser. Buying debits the buyer and credits the seller atomically: if two players try to buy the same listing at once, exactly one succeeds, never both, never neither.
- List a device — any unplaced inventory unit, at a price you set. It keeps its real, unbroken ownership history across the trade, including its condition/wear.
- List a trinket — the cosmetic collectibles bought with Chips (bears, skulls, robots) trade on this exact same Marketplace once unsocketed from a Display Tray, same price rules and ownership history as a device.
- Sell a whole rack — everything installed in it, wiring and all, as one listing, instead of tearing it down device by device. You always keep at least one rack; selling your active one switches you onto whichever you have left. A rack's cosmetic nameplate (if you've set one) is cleared before listing and stays cleared for the buyer, since it's free-form text that could contain anything, including your own name.
- Sale price history — the Browse tab shows a live sparkline of recent real sale prices per device type, drawn from actual completed trades.
- Seller identity — every listing shows the seller's registered username and their current Reputation rank badge, so a listing has a real identity behind it instead of showing up anonymously.
Show My Rack (public gallery)
Wallet → Overview has a "Post Your Rack" button once you're registered — it captures a real snapshot of your actual rack as it looks right now and posts it to a public gallery on silicon-pirates.com/community/show-my-rack.html, alongside your username, Reputation rank, and device count. Posting again replaces your current post rather than stacking up a history — you get one live post at a time. Other registered players can up or downvote any posted rack from the gallery page; voting opens a quick same-tab confirmation on the game itself (silicon-pirates.com can't see your game login, so it never asks for your password directly) rather than a form on the gallery page.
Rack Uptime Bragging Rights
Keep every device in your active rack genuinely powered, unbroken, for 10+ minutes and a live uptime streak starts counting — shown on your own rack status widget in-game, as a badge next to your name in the Comm Device's who's-online directory, and (once posted) frozen into your Show My Rack gallery snapshot as a permanent brag that doesn't un-count later even if the streak eventually breaks. A single device going down — power, a fault, destroyed, anything — resets the streak to zero with no partial credit; it has to requalify from scratch. A server-wide Top 5 Uptimes leaderboard is viewable in-game from the Comm Device panel.
Power & Environment
man power -- Utility Billing & Dynamic Pricing
Grid power isn't free. An hourly bill accrues automatically from your rack's live wattage draw (Wallet → Overview shows the running outstanding balance and the current $/hour rate). Left unpaid past $100 outstanding, a 5-minute grace countdown starts; if it runs out, the grid cuts off the WHOLE rack, not just one slot. Reconnecting needs the full outstanding balance plus a $25 reconnection fee in one action -- though paying down below $100 before the grace period ends cancels the disconnect entirely, no fee owed.
On top of load-based pricing, the $/hour rate also swings with your real local clock time: 5pm-9pm local is Peak (1.4x), 11pm-6am local is Off-peak (0.7x), everything else is standard. The Residential Grid panel shows a live Peak/ Off-peak badge next to the rate whenever either applies -- scheduling power-hungry mining or AI-compute runs for off-peak hours is a real way to save money, not a cosmetic detail.
Temperature Simulation & Cooling
Every device has its own idle temperature and a safe-temperature ceiling; real load (watts actually drawn) pushes current temperature up from idle toward that ceiling, and it cools back down as load drops. A device's Inspector shows current/idle/safe numbers plus a short live history sparkline; the Active Services Monitor shows the same live temperature and a thermal-load meter for anything it's tracking, without opening that Inspector. Crossing the safe ceiling doesn't instantly break anything -- it's the trigger for wear accruing: running hot raises fault odds over time and, past 100 wear, permanently degrades the device (runs measurably hotter, faults more often, stops recovering on its own) until a real, timed, paid maintenance action repairs it. Running cool lets accrued wear recover on its own instead.
Fire & Smoke Hazards
Overload fire is a distinct hazard from ordinary thermal overheat: a PDU chain sustained at or above capacity for a while has a real chance of catching fire, and it can spread -- every device directly plugged into that PDU's own outlets gets its own real chance to catch fire the instant the PDU ignites, so an overloaded PDU is a genuine risk to everything wired to it, not just itself. Reversed-polarity wiring is a separate, occasional hazard: a miswired power cable trips its device immediately once the upstream side goes live. Either one shows on that device's fault banner, which also tells you which hazard it actually was rather than leaving you to guess. A live overload fire renders as real dynamic flames with sparks, not a static smoke puff, so the instant a chain actually ignites is unmistakable at a glance, not something you have to squint at the fault banner to confirm.
The ordinary fault alarm (isolated or chained) triggers at a genuine 100% of capacity, no hidden pre-fault margin -- a densely, correctly packed rack can sit right at the line without a false alarm. Fire risk itself is a separate, slower trigger on top of that: it only starts building after a chain stays at or above 100% for a sustained stretch, so a brief spike alarms without burning anything down.
Cross-Rack Power
A PDU or UPS chain isn't limited to devices racked alongside it -- cross-rack cabling (see the Advanced Guide) lets a single PDU/UPS feed devices sitting in a second, physically separate rack over a real cable link, the same way its own local outlets do. A device powered this way is treated identically to a locally-powered device in every system that cares whether it's powered: it accrues thermal load and wear the same, participates fully in overload/fire risk on that chain, counts normally toward NAS disaster-recovery and mirror-sync eligibility, and its revenue and Active Services Monitor numbers are tracked exactly like any locally-powered unit. There's no partial or second-class powered state for a cross-rack link -- powered is powered, regardless of which physical rack the supplying PDU or UPS actually sits in.
Rack-to-Rack Terminal Access (VPN Tunnel)
A cross-rack cable (above) is one wired link between two specific ports. A
VPN tunnel is different: it gives a terminal in one rack full network reach
into an entire other owned rack, no cable required, purely from a router
setting. Rack a router with at least 1 "VPN tunnels" provisioned (edit the
stat in that router's own Inspector panel -- it starts at 0 on a freshly
placed router) and keep it powered on. From any terminal in that rack:
racks lists every rack you own and whether a working tunnel is
currently up; rackscan <rackId> lists every device in
another owned rack, the same output shape as the local devices
command; and ping <ip|deviceId> also resolves a target in
another owned rack once a tunnel is active, exactly as if it were local. With
no tunnel configured, rackscan refuses and ping
only ever reaches devices in the rack you're actually standing in.
Network Simulation
man network
A device needs an enabled network port with a cable link AND an IP (static or DHCP) before it counts as online for NAS access, contracts, or hosting. Bandwidth on the Internet Provider panel's live Mbps graph reflects real activity -- a small idle baseline, real traffic per connected hosted-game player, real load from AI-compute utilization (the single biggest driver), and a small flat bump while any crypto rig is actively mining -- never a fixed decorative number. DHCP troubleshooting is real too: no lease usually means the port isn't enabled, isn't cabled through to a router with DHCP on, or a switch port between them has DHCP override blocking broadcasts on purpose; static IP addressing on the same subnet is always a reliable fallback while troubleshooting a lease.
Hacker System
Defense: Heat, Reputation & Intrusions (man heat)
Heat rises with revenue-producing activity and always decays over time -- faster, and dampened on the way up, with a live, properly-configured firewall in the rack. Higher Heat raises the odds a random fault rolls as an intrusion rather than plain hardware failure. An intrusion doesn't force the device off -- it keeps running, flagged not-ok, while you get a real response window: isolate it (power off) to contain it with no penalty, investigate first with terminal commands, or do nothing and eat a cash + reputation penalty once it lands. A landed intrusion is also the moment NAS disaster recovery checks for a current backup (see Data Management below).
Offense: Scanning and Stealing (man hacking)
A rotating board of procedurally-generated remote targets you can scan, exploit, and steal cash or crypto from, all through the terminal. Getting caught is a real consequence, not a token slap on the wrist -- it raises your own Heat by a serious amount and carries a real chance of triggering a genuine intrusion fault back on one of your own devices. Reputation-gated tools (a Port Scanner, Exploit Kit, Crypto Siphon, and Ghost Protocol) improve the odds without making any attempt a sure thing.
Hacker Debt: Recurring Hacker Collectives (man medved)
A recurring named threat that only starts paying attention once your rack is a real, working setup. One of three real collectives gets assigned to your rack at random the first time it activates, and stays the same one for as long as that rack exists: The Medved Collective (a comedic, broken-English ransomware crew), The Zaslon Directorate (a cold, corporate, clinically professional outfit -- no jokes, only invoices), or The Ratio Collective (a chaotic, extremely-online Gen Z crew, dead serious about the bag despite the slang). Same mechanics either way -- only the voice differs. Once active, an unprotected rack (no live, properly- configured firewall AND DHCP actually enabled) can get ransomware-locked at any time -- every device click, power toggle, and port click stops working until it's resolved. The demand is a real formula (a base amount plus per-device scale-up), never just your current wallet balance, so a broke player doesn't get a free pass. Three ways out: pay it in full, pay what you can afford (the rack unlocks either way, but any shortfall becomes real debt you still owe), or attempt to break it yourself with the right tools, at real odds.
Underpaying doesn't wipe the slate -- the shortfall becomes debt the same collective keeps nagging you about with periodic wallet messages until it's paid off. The Wallet panel's "Run a Job" button (a real ~1-minute cooldown between attempts) is the grind path: 70% of the time it knocks debt down and pays a small cash reward for off-the-books work; the other 30% it goes bad -- no debt relief that attempt, plus a real Heat penalty for getting caught. Debt never blocks play -- the rack stays fully usable the whole time you're working it off, and a properly-configured rack gets only escalating taunt messages instead of ransomware in the first place.
Data Management
man nas -- Storage, Shares & Disaster Recovery
A NAS carves its total capacity into per-client storage-block shares; a share must be enabled for a client device before that client can use it, and real terminal file writes on a mounted share patch the same used/capacity numbers the NAS Inspector shows.
A share can name another NAS device as a backup mirror target for the same client. While both NAS units stay reachable (powered, linked, addressed, not faulted), the mirror stays in sync and its status reads "Synced -- mirror is current"; let too much time pass without a successful sync and it reads "Stale" instead. A NAS that suffers a real hardware fault, or an unresolved intrusion, wipes any of its shares with no current backup -- logged as a real data-loss line in the wallet's activity log -- while a share backed by a currently-synced mirror survives untouched. Some NAS tiers (RAID NAS, Backup Appliance) also carry real built-in redundancy that stacks on top of an external mirror rather than replacing it. The Inspector's rack-wide overview and the always-on Rack Status widget both surface a rolled-up total across every NAS device: used/capacity blocks, and how many shares hold real data with no current backup anywhere -- a nonzero count there is a genuine, right-now data-loss risk worth fixing before the next fault, not background noise.
man session -- Browser Session & Save Reset
Zero-friction, zero-signup: a random token is created in your browser on first visit and used to save your whole rack, no account or password involved. Autosaves every 30 seconds, plus a final flush whenever the tab is hidden or closed, so refreshing or closing the page always picks up right where you left off. Chips (the premium currency) are the one exception -- they live server-side against your token and are never part of the save blob.
The red "Reset Save" button in the top nav (distinct from the unrelated cable-color "Reset" button next to it) wipes your whole save back to a brand-new game once you type a confirmation word. Lab Credits, your rack, devices, reputation, and everything else in the save resets -- but any Chips you've bought are kept, since those are a real purchase rather than part of the save. This cannot be undone from inside the game.
Troubleshooting Quick Reference
- Income stopped: follow the cable path backward from whatever stopped working -- players left, storage filled, the network dropped, or power failed further upstream than you think.
- A mining rig reads Offline or Paused: check its Inspector's own Reason line first -- the four requirements (real power, a valid IP, a real NAS share sized above 0 blocks, mining actually toggled on) are each checked and reported individually, not lumped into one generic error.
- No DHCP lease: confirm the port is enabled, cabled through to a router with DHCP on, and that no switch port between them has DHCP override blocking broadcasts on purpose; static IP addressing is always a reliable fallback.
- Grid power missing downstream of a switched-on PDU/UPS: confirm the PDU/UPS itself is actually receiving power -- either wired straight into a Residential Grid slot, or (if it's chained behind another one) fed by an upstream PDU/UPS that's itself powered; being switched on is not the same as being powered. A dark UPS specifically might just need charge time -- it only charges while its input is actually live.
- A NAS backup mirror reads Stale: both NAS units need to stay powered, linked, addressed, and fault-free at the same time for a sync to land -- check whichever side last dropped one of those.
- Unexpected wallet drain: check the activity log for the exact line item -- utility billing, a hacker-debt job gone bad, a botched darknet deal, and a data-loss wipe all log themselves individually rather than showing up as one unexplained balance drop.
Advanced Gameplay
Rack optimization, thermal/power trade-offs, marketplace strategy, contract optimization, and preparing for future multiplayer all get a full dedicated walkthrough in the Quick Start Guide's Advanced Guide section rather than being duplicated here.